
Collecting and storing pinecones is a practical source of tinder for fire starting whether for camping, the backyard fire pit, a woodstove for cooking, or the fireplace at the cabin or home. You can ensure they light quickly and spice things up a bit by dipping those cones in wax and adding scents or even colors to them. An added bonus is this makes a great, creative project for the kids either at the campsite or on a rainy day at home. Here are the step-by-step instructions to make your own pinecone fire starters:
This is a sponsored post/article. I am a Bernzomatic Torch Bearer, though all opinions expressed are my own.
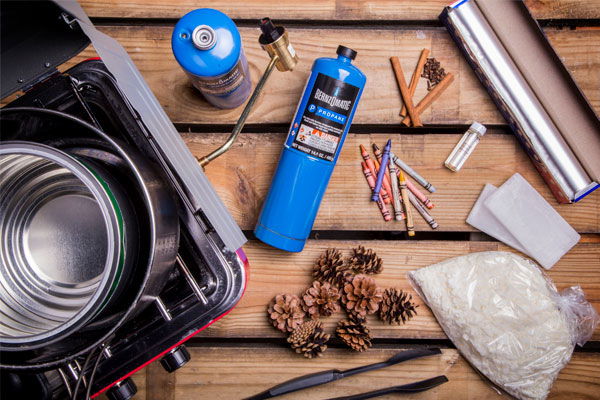
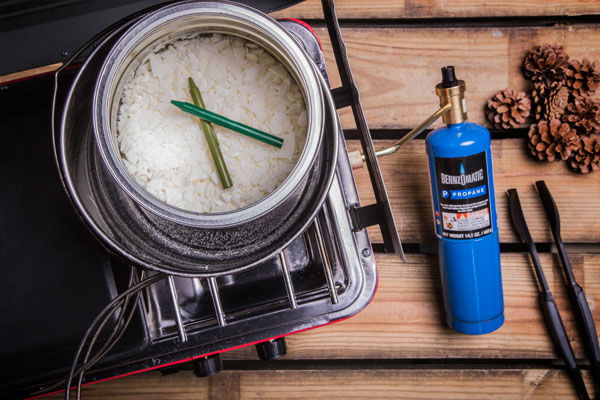
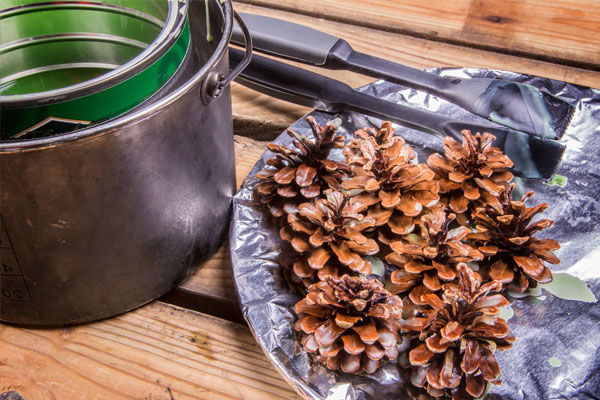
Step 1 : Assemble Materials
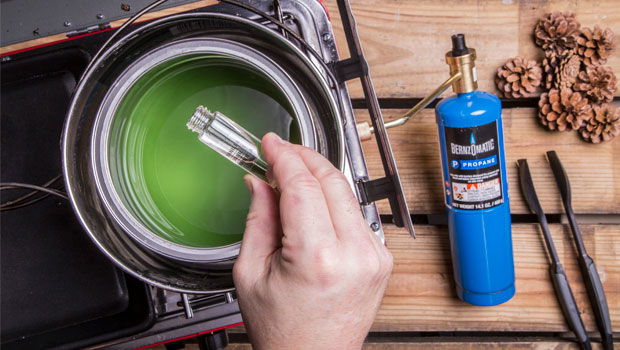
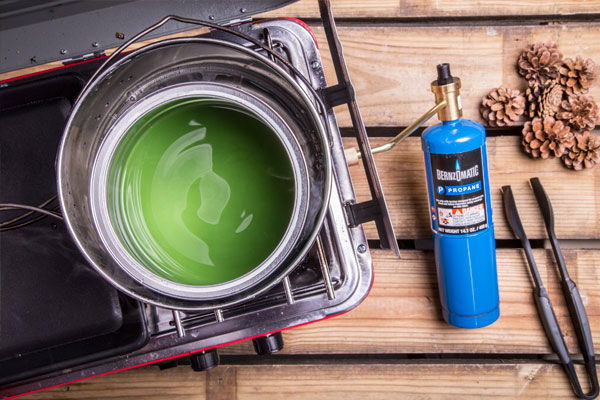
Step 2 : Melt Wax
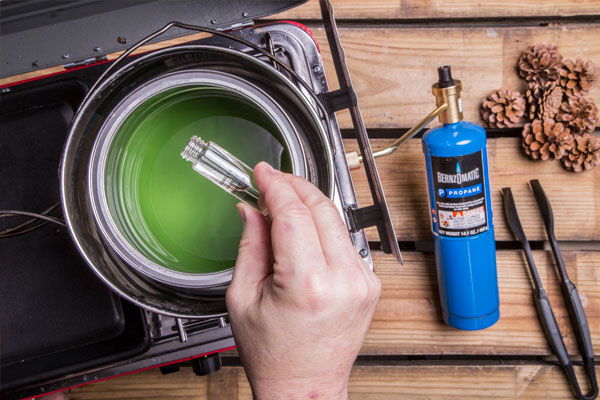
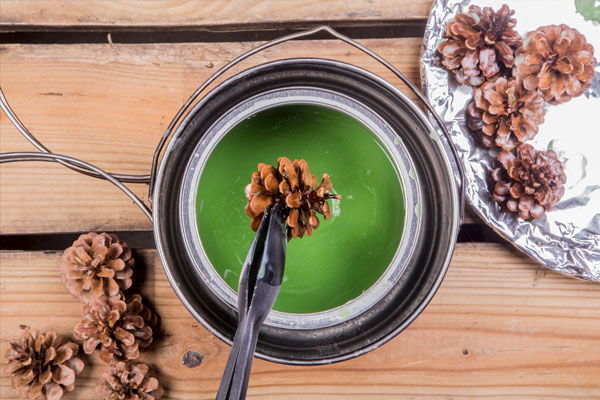
Step 3 : Dip
Step 4 : Dry, Dip, Dry
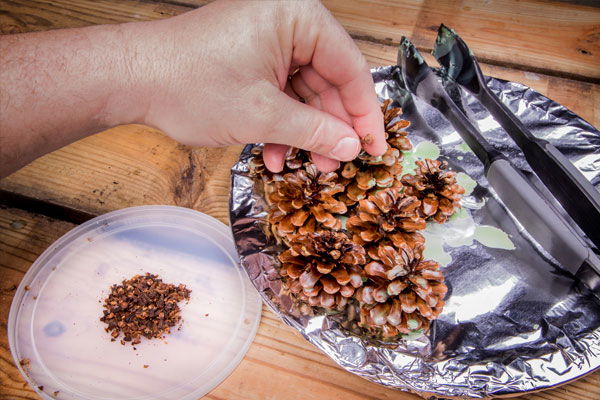
Step 5 : Sprinkle
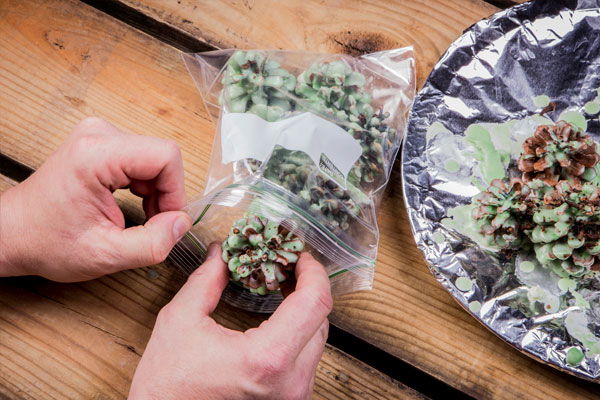
Step 6 : Storage
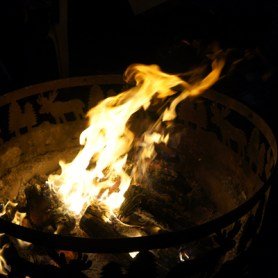
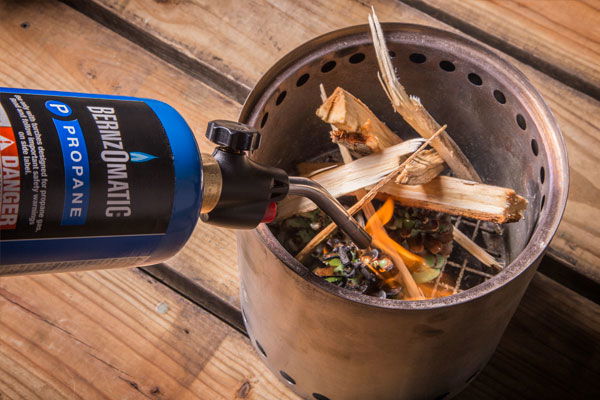
Step 7 : Light
Scented & Colored Pinecone Fire Starters
Recipe Type: Fire Starters
Author:
Prep time:
Cook time:
Total time:
Ingredients
- Dry Pine Cones
- Wax (like they use for candle making)
- Double Boiler (we used a metal coffee can in another pan of water)
- Tongs
- Camp stove or other heat source
- <a href=”https://www.bernzomatic.com/”>Bernzomatic Propane</a>
- Foil or wax paper
- OPTIONAL:
- Crayons or wax dye for color
- Scented oil or herbs – Vanilla oil, cinnamon sticks and cloves, coffee oil, etc.
- Metal salts (like copper sulfate) to colorize flames.
Instructions
- Assemble all your materials and equipment.
- Using the double boiler, melt enough wax to completely submerge your largest pinecones when you dip them. To color the wax, you can add pieces of old crayons to the mix.
- To scent the wax, you can add essential oils like vanilla, coffee, or even an aphrodisiac blend if you’re adventurous. (Start at approximately ½ tsp. essential oil per quart of melted wax and adjust from there.) You can also toast aromatic spices like cinnamon sticks and cloves, grind them fine, and sprinkle on the pinecones as the wax dries.
- When the wax has melted, use tongs to dip the pinecones. Submerge the cone completely and turn to coat thoroughly. Lift the pinecone from the wax and allow excess to drip back into the pan.
- Once the wax has stopped dripping off the pinecone, place it on the foil or wax paper to harden. Repeat with each of the pinecones.
- Allow dipped cone to sit for 15 minutes, then dip again. Repeat as often as you like to build intensity of color on cones.
- If you’ll be adding toasted spices for scent or metal salts to create a colored flame, sprinkle these on to the cones before the last coating of wax hardens.
- After the final dip, allow pinecones to sit and harden for at least 1 ½-2 hours. If you want to speed things along, you can move them to the refrigerator or outdoors (if it’s cool) after half an hour.
- Store them in large, zipper-topped storage bags until you’re ready to use them.